Jun 4, 2012

Homemade Tortilla Tutorial


I was asked the question a few days ago, what my favorite food cuisine was? Hands down, without thinking- MEXICAN! Tacos are one of my favorite meals, ever. You know a good fresh fish taco with a nice creamy cilantro lime sauce wrapped up in a delicious homemade tortilla. Ah, tortillas- homemade, soft, warm tortillas! These tortillas are the thing that make those delectible tacos so amazing. Now, I do purchase store bought torillas on occasion when I am in a time crunch. But I am telling you there is just no comparison. These are hands down better than any tortilla you can buy in a bag. And they are worth taking the time to make them. If you are going for a "wow factor" make these the next time you make tacos! YUM!

I had never made homemade tortillas before moving to the Caribbean. We live on a small little island where you pay a pretty penny for store bought tortillas. Now, while living on a med-school budget can be challenging at times (especially living in a place where everything is 2x more expensive), it does have it's upside. This is when I was forced introduced to making homemade tortillas. And I am so glad I was. I got the recipe from my friend Kristen, who took me in and showed me what I had been missing my whole life. And now I just can't imagine my life with out them. Seriously, these babies are life changing! Make them! Your family will be forever grateful!


Homemade Tortillas


3 cups flour
2 teaspoon baking powder
1 teaspoon salt
4-6 tablespoons shortening
1 1/4 cups warm water

In a large bowl, combine flour, baking powder and salt. Cut in shortening using a pastry blender or a fork. (I will continue to use a fork while my pastry blender sits in storage. One day we will be reunited!)  Add warm water and knead for about 8 minutes. You can see a difference in the dough after you knead it. It has almost looks shiny and smooth. Cover and let dough sit for about 10- 15 minutes. 

Roll into a ball just a little bigger than a gold ball, flaten, then roll out on a floured surface. 

Cook on an ungreased skillet about 1 minute per side or until tortilla starts to bubble. Place on a plate and cover with foil. This will help keep them nice and warm until you are ready to serve them.
 
I had a friend ask me to post my recipe with a tutorial. So here it is: 


Make your dough. After you have let it sit, roll into balls just a little bigger than a golf ball.


Take one of your dough balls and flatten it out on a floured surface. 
Turn to cover with flour.


Roll out into a circular shape


Over medium heat, place tortilla on skillet. Cook until you start to see bubbles 
(about 1 minute or so per side). When you see bubbles, flip it over. 


I usually have a system going where I am rolling out the next tortilla
while the other is cooking. If you do this, make sure to watch the cooking tortilla.
Do not overcook!!! If your tortillas are dry or hard you have over cooked them. 


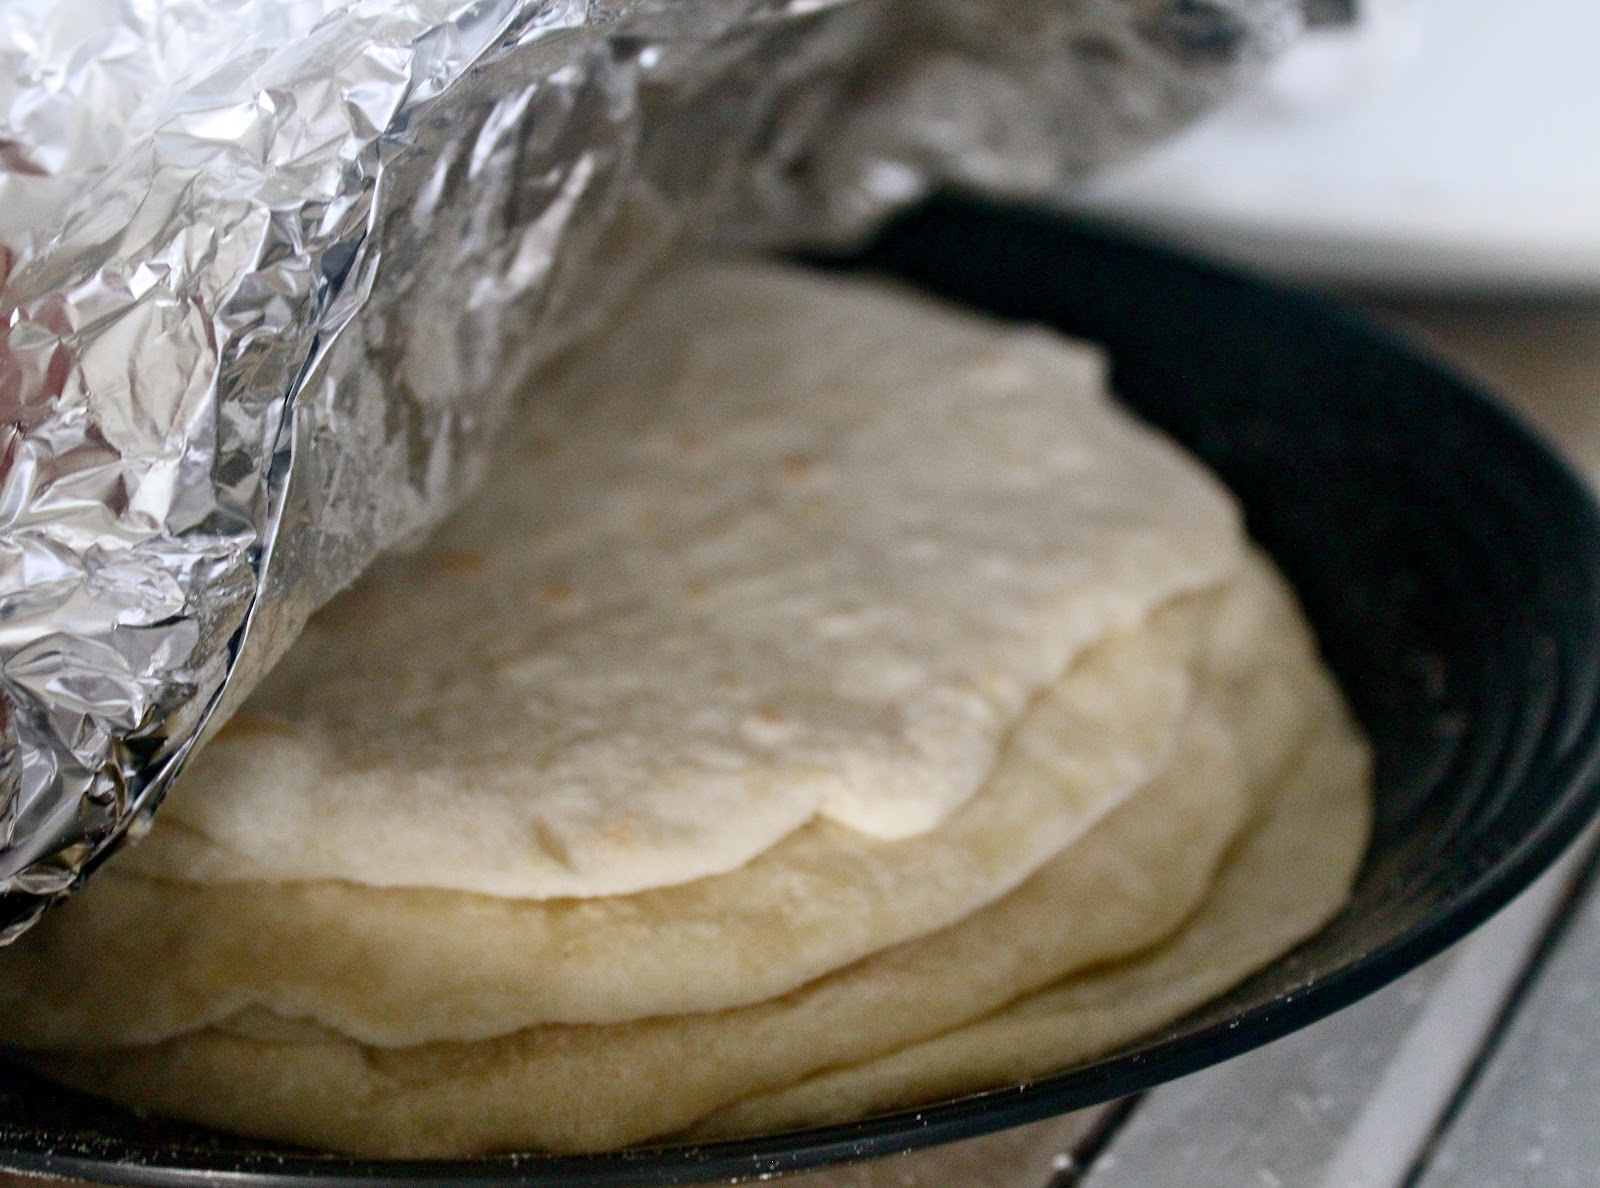
Place cooked tortilla on a plate and cover with foil. 
This will help them stay warm until you are ready to use them. 


Enjoy!

Pin It!

May 28, 2012

Bloggin' Cafe & Malasada Tutorial

 My friend Chris, who is a fabulous chef, hosted a little blogging cafe. Since this was sort of a first for me, I wasn't really sure what to expect. Let me tell you though, it was so much fun! Seriously, what could be better than hanging out, yummy food and blogging?! Chris showed us how to make Malasadas, or otherwise known as Portuguese Donuts. They were to die for! So light and fluffy, topped with a little glisten of sugar. Chris has some pretty incredible recipes on his blog, you can check them out here. And if you want some other fabulous reads, you can also check out the other fellow blogger's amazing blogs: c squared w, Priceless Adventure, and Donuts at Midnight


Now onto these delectable little treats! 


Malasadas
<<Portuguese Doughnuts>> 
Courtesy of Chris McGilvery


1 package of dry active yeast (.25 ounce)
1 teaspoon of sugar
1/4 cup warm water
6 cups of flour
1 teaspoon of salt
1/4 cup sugar
1/2 cup honey 
1/4 cup butter, melted
1 cup evaporated milk
1/4 cup water
2 cups sugar
1 - 1 1/2 quarts vegetable oil

Mix yeast, 1 teaspoon of sugar and warm water. Set aside to proof. 

In a large bowl, mix the flour and the salt together. Make a well. 

Whip the eggs until smooth. Pour eggs, yeast, 1/4 cup sugar, honey, melted butter, evaporated milk, and water into well. Whip it until mixture becomes doughy. It may be a little sticky. Cover and let rise until doubled. This usually takes about 45 minutes.

Heat oil to 350 degrees. I would recommend that you heat up pan, add oil and lower the heat so the oil won't be too hot. The donuts will cook too fast and burn if the oil is too hot.

There are several ways to fry this treat. 
  • You can throw in dough by spoonfuls. Just make sure you throw it in carefully.
  • Roll out dough and cut into squares (this tends to be a sticky mess though).
  • Put dough in a pastry bag and squeeze donut hole sized balls into oil.
I think it would be okay to make the donut holes just a little bigger than a regular sized donut hole. 

Finally roll or shake cooked donuts in sugar. Serve hot and warm! You may even want to add cinnamon to the sugar or shake donuts in powdered sugar. Enjoy! 


For those of you who are thinking any sort of homemade doughnut is going to be way too much work, don't check out just yet. I was completely surprised at how easy these were to throw together. Here is a step by step tutorial, thanks to Chris, to convince you that these babies are not difficult at all to make. And really the thing that takes the most time, is just waiting for the dough to rise. I am pretty sure nothing compares to a light, fluffy, homemade donut dusted with sugar!  

Malasada Tutorial


Mix yeast, sugar and warm water. Set aside to proof.


In a large bowl, mix flour and salt together. Make a well.


In another bowl, whip eggs until smooth.


Add yeast to flour mixture.


Also add eggs, sugar, honey, melted butter, milk, and water. 


Mix together.

Whip it, until it becomes doughy.


The dough is really sticky at this point. Cover and let rise until doubled. 


After the dough has doubled in size, you are ready to fry these puppies!


We used the piping bag method. Not having any piping bags available we used a ziplock bag. Just put the dough in a ziplock and cut a good chunck off of the end.


When the oil is hot, you are ready to drop the dough. Just squeeze the dough (just a little bigger than a doughnut hole) into the hot oil. 


Watch them carefully. When they look like they are browning on the bottom, flip them over. 


When the doughnuts are nicely browned, take them out of the oil and let cool on a paper towel. 


It's a good idea to break one of the first ones open to make sure they are completely cooked and not doughy in the middle.

Then place the doughnuts in a rubbermaid container that has sugar in it. Place lid on and shake around until the doughnuts are covered with a nice sugar coating.


These little bites of heaven are seriously amazing! Enjoy!


Thanks so much Chris for hosting this! Everything was so much fun! I can't wait for the next
Un Poquito Cafe con Blogging y Comida! 
Pin It!

Sep 23, 2011

Stuffed Pizza Crust


Tonight I had planned to make pizza. It was just going to be a basic pizza, marinara, cheese, olives, pepperoni, onion... nothing special. I tried a new pizza dough recipe and since I don't have my pizza stone here in Dominica, I was left to use my cookie sheet. The recipe said it made two medium sized pizzas. It wasn't enough to half it in the pan, but when I rolled the whole thing of dough into the pan it ended up being a little too much. Since it was already in the pan, I had an idea to use the excess dough into a stuffed crust. That transformed this basic pizza into something fun and out of the norm! The garlic butter Parmesan glaze topped it off perfectly! (Thanks to the hubs for thinking of adding that goodness to it!) It was delicious and filling. I think I am going to initiate Fridays as PIZZA night. It goes so perfectly with my Friday night movie dates with Crew! 


Homemade Stuffed Crust Tutorial

Make your pizza dough according to the recipe. I used this one from Annie's Eats and substituted 2 cups of whole wheat flour. It made the perfect amount to make the stuffed crust in a cookie sheet sized pan. 

Roll out your dough and place in pan. Stretch with hands to make sure the dough is evenly distributed.  There should be an excess of about an inch of dough hanging off of the edge. 

Place a good amount of cheese around the very edge of the pan. 


 Fold over excess dough and press it down.


Make sure it is pressed down completely all the way around.

At this point you can add your sauce and toppings.

Then melt about 3 tablespoons of butter. Mix with about 1-2 teaspoons of minced garlic. Brush it onto the crust and top with a good amount of Parmesan cheese.


Ready to be baked.


Enjoy!
Pin It!

Aug 11, 2011

Paper Bag Book

One of the girls I teach at church, got baptized a few weeks ago. I wanted to give her a special gift to help her remember her special day. It is so easy in the states to go and find something nice, but living on this island you don't have the luxury of having a Deseret Book on every corner. So you have to get creative! I took the idea of my Blessing Books I have made for my boys and utilized the resources I had... and Voila! came up with the PAPER BAG BAPTISM BOOK! I know that I am probably not the first person to come up with a book from paper bags. But I have never seen one used like this before. And it felt so good to make something from items I had laying around my house and transform them into something lovely she could treasure forever.


The idea behind a book like this is to have each person who attends, write something they remember from the day/blessing, or simply write a nice note to the person. Normally for my blessing books, I have used a scrapbook with about 10 blank pages. I add a picture to each page to personalize it, and there you go- a lovely book filled with memories of their special day! I love looking at Crew's and Jack's blessing books and reading the sweet things people remembered from their blessing day- things that I would have missed or maybe even forgotten! I LOVE these books! So I used the same idea for this book!


On the first page I usually put the info from the day. If you are doing it for a blessing, you could put the name of the person giving the blessing, date, place, etc...


Paper Bag Book Tutorial:

Gather supplies:
*small brown paper bags (I used 9)
*glue stick
*hole punch
*ribbon/ raffia/ jute
*square photos- one per page about 2 to 3 inches square depending on how big you want the picture.
*photo for the front (and any additional sayings that you may want)
*info printed for inside page


1. Take one paper bag and place three verticle holes, equally spaced on the closed side of the bag.

2. Use the first bag to line up the holes for the remaining bags. Place the bag with the holes punched on top of the next bag. Use the hole punch to punch through the next bag. The holes should match up exactly.

3. When you have finished punching the holes in all of the bags, tie them together with your ribbon/ raffia or whatever you are using. I cris-crossed mine to add a little design to it. But you can make it as intricate or as simple as you desire.

4. Glue each bag closed.

5. Add pictures etc...

Voila you're done! You could use this idea to make a Father's day/ Mother's day book, birthday book (instead of cards, have people write in this small book and maybe only do a few pages) the options are endless!


Pin It!